Author Archives: On Call Plumbing

What Should I Do Immediately After Water Damage?

A burst water heater situation.

Introduction: Understanding the Urgency

Water damage can strike unexpectedly, wreaking havoc on your home and possessions. Immediate action is crucial to minimize damage and prevent long-term issues such as mold growth and structural deterioration. Knowing what steps to take right after water damage occurs can make all the difference in restoring your home effectively.

Safety First: Ensure a Safe Environment

The first priority after water damage is to ensure the safety of everyone in your household. Water damage can create hazardous conditions, so take the following precautions:

Turn Off Electricity

Water and electricity are a dangerous combination. If safe to do so, turn off the power supply to the affected areas to prevent electrical shocks or fires. If you are unsure, contact a professional electrician for assistance.

Avoid Contaminated Water

Water damage can stem from various sources, including clean water from a broken pipe, gray water from appliances, or black water from sewage backups. Avoid contact with contaminated water, which can pose serious health risks.

Evacuate if Necessary

If the water damage is extensive or there is a risk of structural collapse, evacuate the premises immediately. Do not return until authorities deem it safe.

Document the Damage: Record Everything

Before starting any cleanup or repair efforts, document the damage for insurance purposes. This step is crucial for ensuring you receive adequate compensation from your insurance company.

Take Photos and Videos

Use your smartphone or camera to take clear photos and videos of all affected areas and damaged items. Capture the extent of the water damage, including walls, floors, furniture, and personal belongings.

Make a List

Create a detailed list of damaged items, including descriptions, approximate values, and the extent of the damage. This inventory will be useful when filing an insurance claim.

Contact Your Insurance Company: Report the Damage

Notify your insurance company as soon as possible to start the claims process. Provide them with the documentation you’ve gathered and follow their instructions for filing a claim.

Understand Your Policy

Review your insurance policy to understand what is covered and what is not. Different policies cover different types of water damage, so it’s essential to know the specifics of your coverage.

Keep Communication Records

Maintain records of all communications with your insurance company, including emails, phone calls, and letters. Documenting these interactions can help resolve any disputes or misunderstandings that may arise during the claims process.

Mitigate Further Damage: Prevent Additional Issues

Once the immediate safety concerns are addressed, focus on mitigating further damage. Taking prompt action can prevent additional problems and reduce repair costs.

Remove Standing Water

Use buckets, mops, or a wet/dry vacuum to remove as much standing water as possible. For large amounts of water, consider renting a sump pump or contacting a professional water removal service.

Dry Out Affected Areas

Drying out the affected areas is crucial to prevent mold growth. Open windows and doors to promote airflow, and use fans and dehumidifiers to speed up the drying process. Remove wet carpets, rugs, and furniture to allow the underlying surfaces to dry thoroughly.

Protect Belongings

Move undamaged items to a dry area to prevent further damage. If possible, elevate furniture and electronics off the floor. Remove wet cushions and upholstery, and prop up wet furniture cushions for better airflow.

Clean and Disinfect: Address Contamination

Water damage can introduce harmful bacteria and mold into your home. Cleaning and disinfecting affected areas is essential for maintaining a healthy environment.

Clean Surfaces

Use a mild detergent to clean hard surfaces such as walls, floors, and countertops. Scrub areas that have come into contact with contaminated water to remove dirt and debris.

Disinfect

Apply a disinfectant to kill bacteria and mold spores. Be sure to follow the manufacturer’s instructions for proper application and safety precautions. Wear gloves and protective clothing to avoid contact with cleaning chemicals.

Dispose of Contaminated Items

Some items may be too damaged or contaminated to salvage. Properly dispose of items such as soaked carpeting, insulation, and drywall that cannot be thoroughly cleaned and dried.

Prevent Mold Growth: Act Quickly

Mold can begin to grow within 24-48 hours after water damage occurs. Taking swift action to dry and clean affected areas is crucial to prevent mold.

Monitor for Mold

Even after initial cleanup, continue to monitor affected areas for signs of mold. Look for visible mold growth, a musty odor, or persistent moisture. If you suspect mold, contact a professional mold remediation service to address the issue promptly.

Use Mold Inhibitors

Consider using mold inhibitors when cleaning and drying the affected areas. These products can help prevent mold growth on surfaces like wood, drywall, and fabric.

Assess and Repair Structural Damage: Restore Your Home

Once the immediate cleanup and drying are complete, assess the structural damage to your home. Some repairs may require professional help.

Inspect for Damage

Check for structural damage to walls, floors, and foundations. Look for warping, buckling, or cracks that could indicate deeper issues. Pay special attention to areas around windows, doors, and the roof where water may have entered.

Hire Professionals

For significant structural repairs, hire a licensed contractor with experience in water damage restoration. Professionals can ensure repairs are done correctly and safely, preventing further issues down the line.

Replace Damaged Materials

Replace damaged building materials such as drywall, insulation, and flooring that cannot be salvaged. Use water-resistant materials when possible to reduce the risk of future water damage.

Take Preventative Measures: Safeguard Against Future Damage

After addressing the immediate damage, take steps to prevent future water damage. Implementing preventative measures can protect your home from similar incidents.

Improve Drainage

Ensure your home’s drainage system is functioning correctly. Clean gutters and downspouts regularly to prevent clogs and direct water away from the foundation. Consider installing a sump pump if your home is prone to flooding.

Seal Cracks and Gaps

Seal cracks and gaps in walls, foundations, and around windows and doors to prevent water from entering your home. Use caulk or weatherstripping as needed.

Install Water Alarms and Automatic Shutoff Systems

Water alarms can alert you to leaks or flooding early, allowing you to take action before significant damage occurs. Automatic shutoff systems can detect leaks and shut off the water supply to prevent further damage.

Conclusion: Act Quickly and Stay Prepared

Experiencing water damage can be stressful and overwhelming, but taking immediate action can minimize the damage and speed up the recovery process. By ensuring safety, documenting the damage, contacting your insurance company, mitigating further damage, cleaning and disinfecting, preventing mold growth, assessing structural damage, and implementing preventative measures, you can effectively restore your home and protect it from future water damage.

Being prepared and knowing what steps to take immediately after water damage can make a significant difference in safeguarding your home and maintaining a healthy living environment. If you find yourself dealing with water damage, act quickly and don’t hesitate to seek professional assistance to ensure the best outcome for your home. Right now is the best time to call our pros at 661-201-6016 if you need water damage repair in Santa Clarita, CA. Call today!

What Parts of a Water Heater Go Bad?

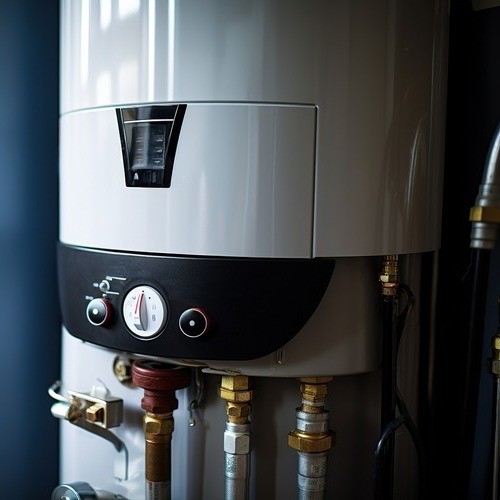
close-up of a wall mounted water heater

What parts of a water heater may need repair?

If cold showers are your thing, you may not be concerned about needing a repair or replacement of a water heater. Unfortunately, there are many other reasons why you need hot water, such as washing clothes and dishes, so while paying for water heater repair or a replacement may be an expense and inconvenience, it is something that many homeowners face. If you need water heater repair in Santa Clarita, CA, or surrounding areas, you likely have many questions, such as what part of your water heater requires repair. Our team can be there to provide you with the answers you need. 

When should you schedule a water heater repair?

Many signs may indicate you need to call a plumber for a possible water heater repair. Before you make that phone call, here are the top five things to be aware of: 

1. Water Not Heating

Day in and night out, we assume there will be hot water for our needs, but then you may find that your water should be warmer. If you find yourself asking why your water heater isn’t getting hot, three things could be causing this: 

  • The thermostat 
  • Problems with the heating element
  • A water heater that is too small for your needs

If you believe any of these issues may be causing your problems, you can do a few things. Before you call a plumber, check the thermostat setting. Somebody may have moved it accidentally, so ensure it is about 120 degrees or higher. If it is, the problem may be with the heating element. 

A problem with the heating element is a water heater repair that a plumber can handle by replacing it. If the heating element is still working, the plumber may recommend replacing the water heater with a larger tank, depending on your household’s needs.

2. Leaking Water Heater  

Leaks can occur in a water heater for many different reasons. If you notice water on the floor coming from the water heater, you could have a leaking water heater. Check all the water connections at the wall and on the water heater to ensure they are tight, and schedule a service call for further inspection of your water heater to get to the root of the problem.

There could be something more serious like the bottom being rusted, the tank’s seams leaking, or water coming from the top, and tightening the connection doesn’t stop the leak. 

3. Noisy Water Heater

Your water heater should not be making much noise, so it might need to be flushed if you notice it making a significant amount of noise. Call a plumber for a water heater repair service. Sediment can build up in the water heater’s bottom over time and become stiff and thick.

This makes it impossible for the water heater to use more energy to heat the water, and the longer sediment builds up, the more strain the unit is under and will eventually quit working. You can try a water heater repair by flushing the tank, but chances are you’ll be replacing your water heater. 

4. Rusty Water 

It isn’t a secret that water makes metal rust, and a water heater tank is made of steel. Exposure to water 24/7/365 eventually rusts out the tank and water pipes, and you may begin seeing colored and rusted water coming from the faucets. Try flushing the tank. If that doesn’t improve the water’s color, it could be that the tank is beyond water heater repair, or you could have rust in your pipes. 

5. Water Heater Age

A water heater does not last forever, with an average lifespan between 8 and 12 years. Because of this, you will eventually need to replace it. Suppose the cost of water heater repairs is about 25% or more of what a new unit will cost. In that case, it is a good idea to schedule a water heater replacement, especially if you are getting close to the end of the lifespan of your current unit.

How do you flush sediment out of a water heater?

Your owner’s manual will have step-by-step instructions on how to flush the water heater. Somebody should perform the technique shared here at least yearly or twice a year if there is hard water in your area. 

  1. Drain all the water out of the water heater 
  2. Turn off the electricity or gas to the water heater.
  3. Turn the cold water off at the water heater. 
  4. Have a hot water tap running at another location.
  5. Connect a garden hose to the drain valve on the water heater.
  6. Place the other end either outside or in a bucket. 
  7. Open the drain valve and allow the water to flow until it comes out clear.
  8. Shut the drain valve and remove the garden hose. 
  9. Reconnect the water, electricity, and water. 
  10. And you’re done! 

The Bottom Dollar

You may wonder how to determine when the cost of water heater repair is worthwhile. If your water heater is less than eight to ten years old and the repair cost is less than 25% of the price of a new water heater, the cost of water heater repair is well worth the cost. But if you’ve had several water heater repairs in the past year, replacing the unit would be a better value. 

If you would like someone to advise you on whether you should schedule water heater repair or replacement, our team is always ready to help, so contact us for more information. 

Understanding Your Home’s Plumbing System: An Overview

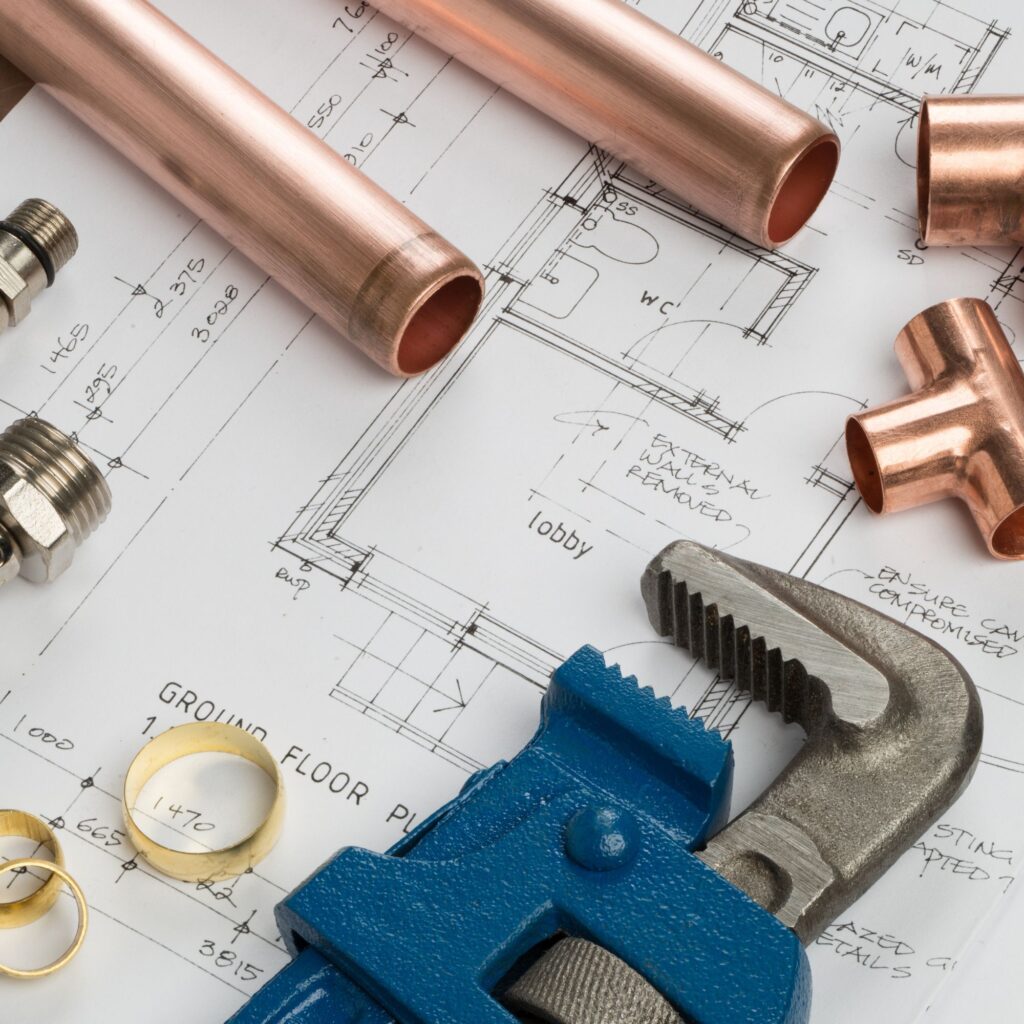
plumbing supplies and tools on top of a bathroom blueprint

Primary Components of a Home Plumbing System

A basic understanding of your home’s plumbing system can save you time, money, and headaches. From faucets to pipes to drainage systems, each component plays an essential role in ensuring your home functions smoothly. In this overview, let’s explore the key components of a typical residential plumbing system and provide insight into how they work together to keep everything flowing. 

1. Water Supply:

   – Main Water Line: The main water line brings fresh water from the municipal supply into your home. It’s usually buried underground and connects to your water meter.

   – Shut-Off Valve: This valve allows you to cut off the water supply to your entire home in case of emergencies or repairs.

   – Pressure Regulator: Helps maintain safe water pressure throughout your plumbing system, preventing damage to pipes and fixtures.

2. Plumbing Fixtures:

   – Faucets: Found in kitchens, bathrooms, and utility rooms, faucets control the flow of water for various tasks such as washing dishes, hands, or clothes.

   – Toilets: These fixtures use water to flush waste down the drain and into the sewer or septic system.

   – Sinks and Drains: Sinks provide a basin for tasks like washing hands or dishes, and drains remove wastewater from fixtures and appliances.

3. Drainage System:

   – Drain Pipes: These pipes carry wastewater away from plumbing fixtures and transport it to the sewer or septic tank.

   – Vent Pipes: Vent pipes prevent air pressure buildup in the drainage system, allowing wastewater to flow smoothly without creating unpleasant odors or gurgling sounds.

   – Traps: Traps are curved sections of pipe located beneath sinks, showers, and tubs. They hold water to block sewer gases from entering your home while still allowing wastewater to flow freely.

4. Hot Water System:

   – Water Heater: Water heaters heat and store hot water for use throughout your home. They can be powered by electricity, gas, or other fuel sources.

   – Hot Water Pipes: These pipes distribute hot water from the water heater to faucets, showers, and appliances that require hot water.

Plumbing Maintenance in Santa Clarita, CA

It’s important to periodically check for leaks, drips, or signs of water damage around plumbing fixtures and pipes. You should also schedule professional plumbing inspections and maintenance for your water heater, drains, and other plumbing components to catch potential issues before they escalate. 

Also, keep in mind proper usage. Avoid flushing non-biodegradable items down toilets and dispose of grease and food scraps properly to prevent clogs in your drains. Use drain covers in the bathroom and kitchen to catch hair, food scraps, and other debris.

If you need help with your residential plumbing system, the local plumbers in Santa Clarita, CA, at On Call Plumbing can help you keep your home plumbing system in good repair. Give us a call at 661-201-6016 with any residential plumbing service need.

Eco-Friendly Plumbing Solutions: Sustainable Options for Your Home

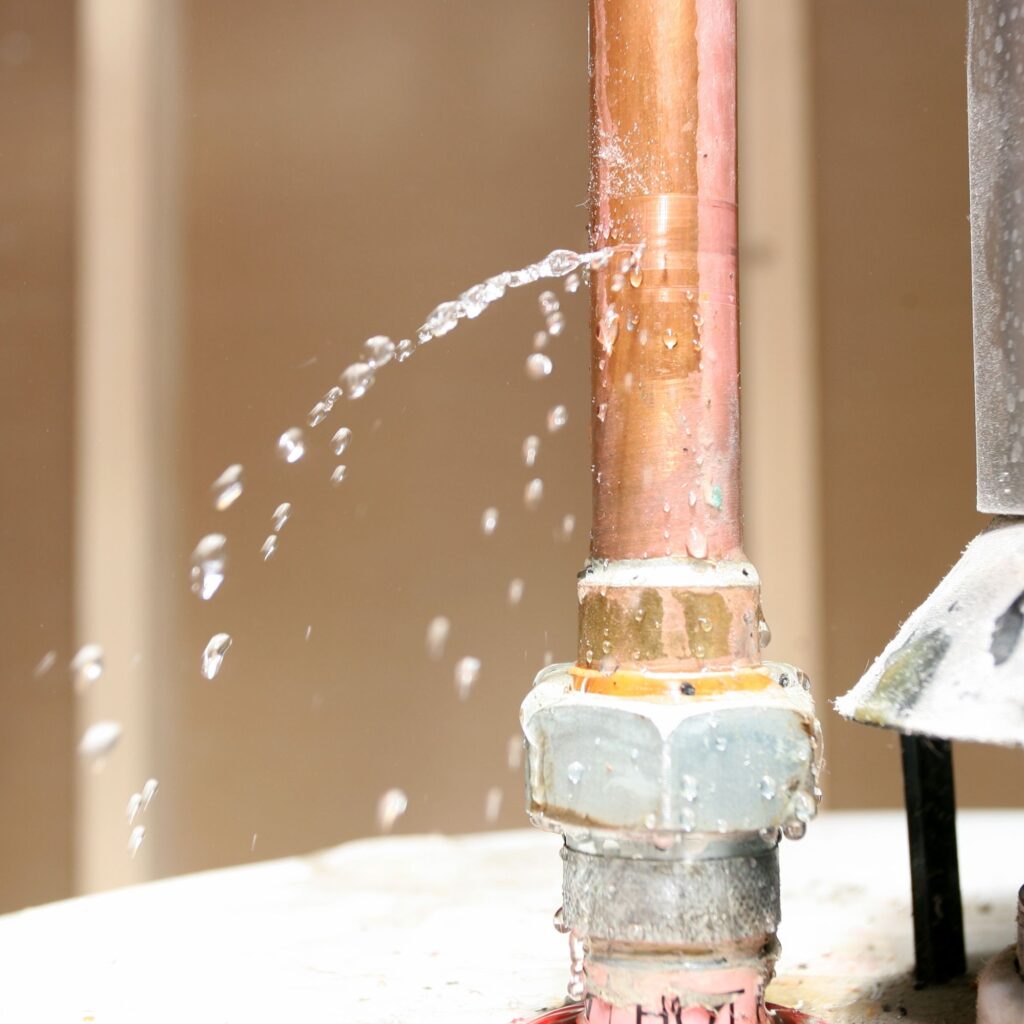
water leaking from copper pipe

Practical Ways Your Plumbing Can Become More Eco-Friendly

As environmental concerns continue to rise, homeowners are increasingly seeking ways to reduce their ecological footprint and conserve natural resources. One area where sustainable practices can make a significant difference is plumbing. By implementing eco-friendly plumbing solutions, homeowners can not only reduce their water and energy usage but also lower utility bills and contribute to environmental preservation. On Call Plumbing is proud to offer sustainable plumbing solutions in Santa Clarita, CA, and beyond. Learn more about some sustainable plumbing options for your home, and then call us at 661-201-6016 to get started.

Installing low-flow faucets, showerheads, and toilets can significantly reduce water consumption without sacrificing performance. These types of fixtures use less water per minute while maintaining adequate water pressure, resulting in substantial water savings over time. Upgrading to water-efficient appliances such as dishwashers and washing machines can help conserve both water and energy. How do you know if it’s water-efficient? Look for appliances with high Energy Star ratings, which indicate superior water and energy efficiency compared to standard models.

Tankless water heaters also help by reducing standby heat loss. These systems are more energy-efficient than traditional water heaters and can help lower energy bills while providing endless hot water. Properly insulating hot water pipes can also prevent heat loss and reduce the energy required to deliver hot water throughout your home. Insulating pipes also helps prevent freezing during cold weather, reducing the risk of pipe bursts and water waste.

More Ways to Conserve Water and Energy in Your Home

Greywater recycling systems capture and treat wastewater from sinks, showers, and laundry machines for reuse in irrigation or toilet flushing. By recycling greywater, homeowners can reduce their reliance on freshwater sources and lower overall water usage. Rainwater harvesting systems collect rainwater from rooftops and store it for non-potable uses such as landscape irrigation and outdoor cleaning. Harvesting rainwater reduces demand on municipal water supplies and helps prevent stormwater runoff, which can contribute to water pollution.

It’s also important to regularly inspect for and promptly repair leaks in plumbing fixtures and pipes. This can prevent water waste and conserve valuable resources. The use of smart leak detection devices and water monitoring systems can identify leaks early and minimize water loss.

Finally, choose plumbing fixtures and materials made from environmentally friendly and sustainable materials such as bamboo, recycled glass, and reclaimed wood. This can help reduce your environmental footprint. Also, consider opting for products with eco-certifications such as WaterSense and GreenGuard to ensure they meet stringent environmental standards.

By incorporating these eco-friendly plumbing solutions into your home, you can reduce water and energy consumption, lower utility costs, and contribute to a more sustainable future for generations to come. On Call Plumbing is proud to be an environmentally-friendly plumber in Santa Clarita, CA. Whether you’re remodeling your home or making upgrades to existing plumbing systems, prioritizing sustainability can benefit both the environment and your household finances in the long run, and we can help! Call us at 661-201-6016 to learn how.

The Importance of Regular Plumbing Maintenance: Preventing Costly Repairs

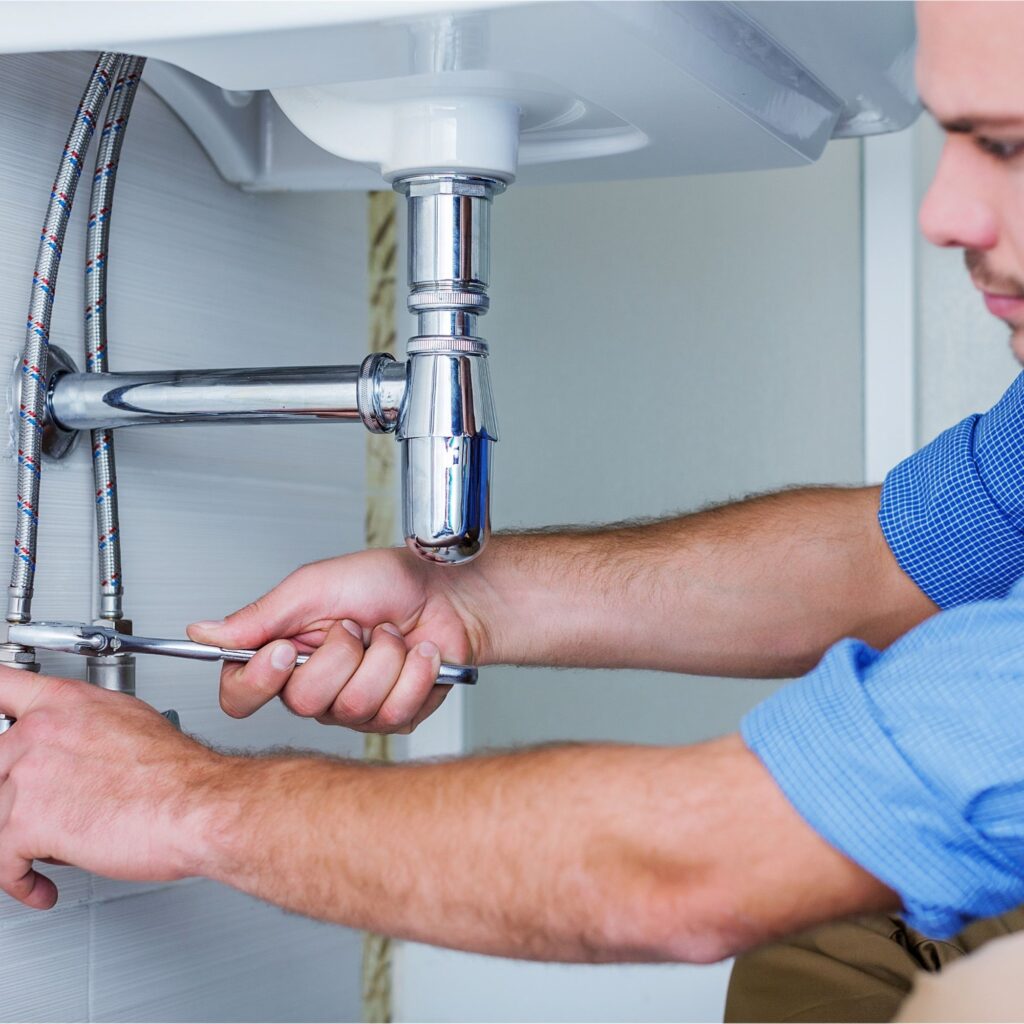
plumber fixing under bathroom sink

What are the benefits of regular plumbing maintenance?

Regular plumbing maintenance is crucial for preventing costly repairs and maintaining the functionality and efficiency of your plumbing system. Wondering why it’s important? Here are some key reasons why regular plumbing maintenance is important. And if you require plumbing maintenance in Santa Clarita, CA, give your local plumber a call at 661-201-6016.

  1. Preventing Major Emergencies: Regular inspections and maintenance help catch small issues before they escalate into major emergencies. A small leak or a minor clog, if left unattended, can lead to significant water damage or burst pipes, resulting in costly repairs and restoration efforts.
  2. Preserving Property Value: Plumbing problems can significantly decrease the value of your property. Regular maintenance ensures that your plumbing system is in good condition, preserving the value of your home or commercial property.
  3. Saving Money: Investing in regular plumbing maintenance can save you money in the long run. Small leaks and drips may seem insignificant at first, but they can waste a significant amount of water over time, leading to higher water bills. Additionally, addressing issues early on prevents them from turning into expensive repairs.
  4. Improving Energy Efficiency: Leaks, clogs, and other plumbing issues can decrease the efficiency of your water heater and other plumbing fixtures, leading to higher energy bills. Regular maintenance helps ensure that your plumbing system operates at peak efficiency, saving you money on energy costs.

More Reasons to Consider Regular Plumbing Maintenance

Regular maintenance can help extend the lifespan of your plumbing fixtures and appliances. By identifying and addressing issues early on, you can prevent premature wear and tear and prolong the life of your pipes, water heater, faucets, and other fixtures.

Plumbing problems such as leaks or sewage backups can pose health risks to you and your family or occupants. Regular maintenance helps ensure that your plumbing system is in good working order, minimizing the risk of contamination or other health hazards.

Regular plumbing maintenance helps ensure that your property remains compliant with local building codes and regulations. Failure to address plumbing issues could result in fines or penalties from regulatory authorities.

In conclusion, regular plumbing maintenance is crucial for preventing costly repairs, preserving property value, saving money, improving energy efficiency, extending the lifespan of plumbing fixtures, maintaining health and safety, and ensuring compliance with regulations. By investing in regular maintenance, you can avoid major plumbing emergencies and enjoy a well-functioning plumbing system for years to come.

How Do You Unblock a Badly Clogged Shower?

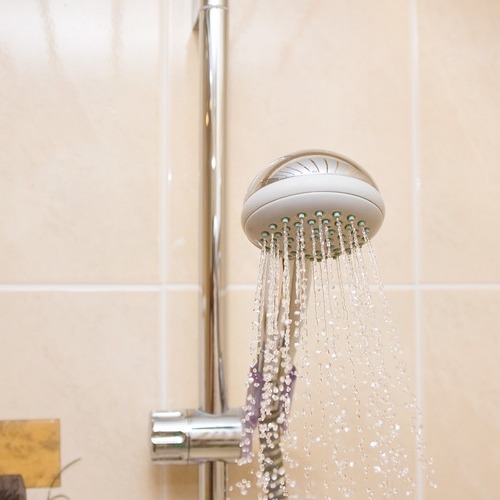
a shower head spraying water

What can I do if my shower is clogged?

Homeowners in and around the Santa Clarita, California area may encounter clogged shower drains for several reasons, whether you have guests in the house and a few more people are using your shower or you’re experiencing a build-up of materials such as soap and other scum it’s always inconvenient to find you need clogged shower drain cleaning. Keeping that in mind, there are a few things you can do to prevent a clog in your shower and some things you can do if you find yourself dealing with a clogged shower drain.

What causes a clogged shower drain?

Not only is a clogged shower drain inconvenient, but it is also gross to be standing in dirty water as it slowly tries to drain! What can cause this inconvenient and unsightly situation? Most clogged shower drains are caused by a combination of the following substances: 

  • Dirt
  • Grease
  • Hair
  • Skin flakes
  • Soap scum 
  • Toothpaste

Other possible causes of clogged shower drains are clogs from other areas of the plumbing too, such as things that are flushed down the toilets, poured down the kitchen drains, and even underground. Some examples of what causes clogs that can also be blamed for a clogged shower drain are: : 

  • Flushable diapers and wipes
  • Flushing hygiene products
  • Improper use of the garbage disposal
  • Fat, grease, and oil down the kitchen drain
  • Tree roots

How can a badly clogged shower drain be cleared?

 Luckily, there are several methods you can try to clear a clogged shower drain before calling in a professional. Start by checking the drain for any visible obstructions, often you’ll find hair clumped together. You can remove this yourself with your fingers, a pair of pliers, or a wire clothes hanger. If you don’t see anything obvious, then try the following: 

  • Auger or Snake:  You can purchase or rent an auger or drain snake, also referred to as a plumber’s snake, from your local hardware or big box home improvement store. This is a flexible, retractable drill-type tool that you will place into the drain, and by turning a hand crank, a wire-type cable goes down the drain. It will either bust through the clog so that it washes on through or pull up what could be, by connection, causing the clogged shower drain. 
  • Boiling Water: If the auger or drain snake method is unsuccessful, pour a pan of boiling hot water into the drain. This will dissolve any soap scum and break the clog apart so that the drain can flow. You may need to repeat this two or three times. 
  • Natural Drain Cleaner: If these two methods aren’t successful, do not try an over-the-counter chemical drain product.  A natural drain cleaner that has a proven success rate is to pour one cup of boiling hot water down the drain, wait 15 to 20 minutes, then follow with one cup of white vinegar, and then one cup of baking soda. After another 15 to 20 minutes, pour boiling water down the drain again. 

If none of these methods result in an unclogged shower drain or any other drain, your only option is to call a professional plumber. 

Why baking soda and vinegar should NOT be used to unclog a drain?

While this is a proven mixture of all-natural ingredients for clearing a clogged shower drain, there are some possible downsides. The mixture of baking soda and white vinegar creates a chemical reaction that produces carbon dioxide gas. That gas can build up inside the pipes, pressure builds up, and could result in cracked pipes and leaks. 

Will a clogged shower eventually drain on its own?

If the clog isn’t severe, it is possible that slowly, the drain will eventually clear on its own.  If the water hasn’t drained within an hour, start with the auger or plumbing snake method described above, and on through the other steps if needed. 

Why are chemical drain cleaners not recommended? 

Chemical drain cleaners contain lye, sulfuric acid, and other active ingredients that can cause pipes to corrode, crack, or even burst. Yes, they eat through and clear clogged shower drains and other drains, but they are also eating the interior of the pipes. You’ll damage the surrounding plumbing, and end up replacing some, or all of the plumbing, as well the surrounding cabinetry, flooring, and/or walls.

Washing It All Down

To prevent, or minimize the possibility of clogged shower drains, or any drain, follow a ritual of pouring baking soda and white vinegar into all the drains once a month. This will keep any buildup from becoming a major clog and a total nightmare.  

Also, there are preventive measures you can take including placing drain strainers in each drain to catch any fat, grease, oil, hair, and food particles. Be careful of what is poured down the bathroom or kitchen sinks, and avoid flushing things like diapers, and feminine hygiene items, and flushable wipes down the toilet. Meanwhile, if you find yourself in need of clogged shower drain cleaning in Santa Clarita, California you can always reach out to us. Call today at 661-201-6016 if you need assistance.

When Should You Call a Plumber for a Clogged Toilet?

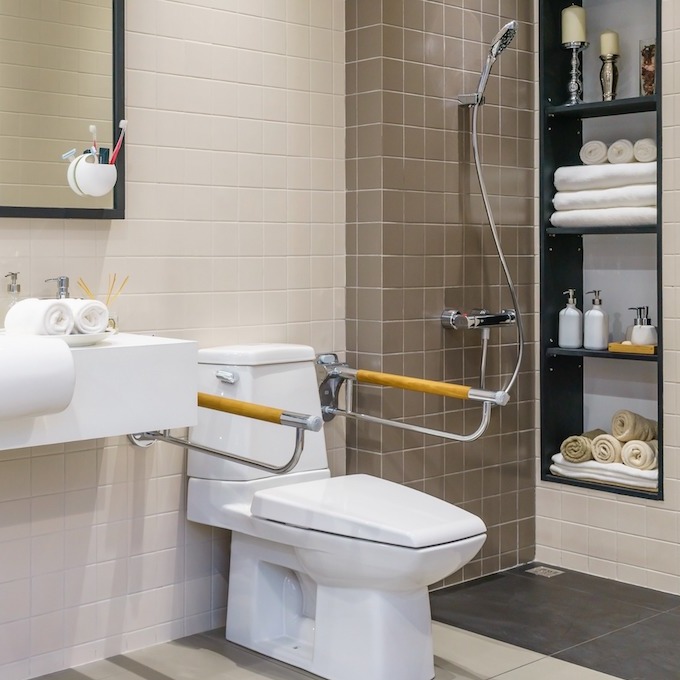
Toilet in bathroom

Prevent Blockages in Your Sewer Line

If you have children in the house, you’ve likely experience clogged toilets. Repairs can often be done by fishing out the object they flushed down it, but sometimes, that isn’t enough. Clogged toilet repairs can be more complicated, based on what was flushed or blocking the underground sewer line. 

What are the most common causes of a clogged toilet?

Clogged toilet repair can be challenging when they are clogged in the following areas: 

  • The toilet trap: This is the S-shaped section of the toilet bowl and is where the toilet is connected to the drainpipes. This curved channel holds a small amount of standing water to prevent odorous sewer gases from escaping.   
  • The branch drain line: This is a waste pipe where waste is collected from two or more water appliances and sends it to the sewer line.
  • The vent pipe: Little information is known about this part of a toilet, but are an important component of the toilet working properly and safely.  This equalizes pressure in the plumbing system to prevent water from being siphoned out of the drain traps and releasing sewer gases into your home. 
  • The main sewer line: This is located underground and runs between the house and the sewer system or septic tank. It is vulnerable to tree root penetration and causes severe problems requiring expensive clogged toilet repair. 

How can I prevent clogged toilets? 

Here are five ways you can minimize, even eliminate needing professional clogged toilet repairs: 

  • Toilet Paper. Less is more when it comes to toilet paper. Use 1-ply instead of 2-ply and use less of it. Even though it is designed to break down, it doesn’t happen quickly. 
  • Careful What Is Flushed. There are only three things that should ever be flushed down a toilet: Water, toilet paper, and human waste. Keep animal waste out of the toilet along with cotton balls, Q-tips, feminine products, diapers, and wipes. 
  • Always Close the Lid. Things get dropped and then the toilet gets flushed. Before you know it, you need emergency clogged toilet repair. 
  • Watch Tree Roots. If there are large trees planted around your home, watch the tree roots. If they grow into the drain or sewer pipes, it can break or clog the lines and expensive clogged toilet repairs are needed in the way of having the lines dug up and replaced. 

How can I tell the difference between a plugged and an overflowed toilet?

Who hasn’t experienced an overflowing toilet?!  You do your business and then flush the toilet, and up comes the water in the toilet bowl, and it keeps coming. Before you know it, wastewater is flooding the bathroom floor. 

This is the common indication of a clogged toilet drain. If you’re alert to your toilet, you’ll know it is at the flow-over point if the water doesn’t fill the bowl back up.  In addition to the things that we’ve discussed already, other things that can cause you to need professional clogged toilet repair includes: 

  • Flushing kitchen waste like FOG, (fat, oil, grease), meat trims, and veggie peels. 
  • Low-flow toilets have clogs more than standard toilets. In older toilets the internal workings of the tank are rusted and worn can cause a toilet to flush. 

How Can You Stop An Overflowing Toilet Quickly? 

If you are experiencing an overflowing toilet, the following steps are the best ways to stop the water from flowing quickly: 

  • The Shutoff Valve

There should be a shut-off off valve behind the tank close to the floor. Turn the water off as quickly as possible and leave it off until the clogged toilet repair has been completed. 

  • The Tank Flapper

If you can’t get the shutoff valve to turn off, remove the tank lid and move the flapper in a closed position over the valve. You still need clogged toilet repair, but this will stop the water from overflowing. 

  • The Tank Float Ball

If water is still overflowing, with the tank lid removed, raise the float ball up and this will stop the water from flowing. Again, you still need clogged toilet repair done, but this will give you some time. 

Underwater: Is It Time To Surrender? 

How do I know when it’s time to call a plumber? If you’ve tried all the steps we’ve listed here and you still have an overflowing toilet, call a professional plumber for clogged toilet repair. Things that can tell you if the problem is more than DIY repair are odd noises coming from the toilet when flushed. 

If you notice an odor coming out when the toilet is flushed, beyond the human waste odor, this could be an indication of sewer line problems. If you live in Santa Clarita, CA, and the toilet gurgles when flushed, you need professional clogged toilet repair. Call us at 661-201-6016 today!

How Often Do You Need a Sewer Inspection?

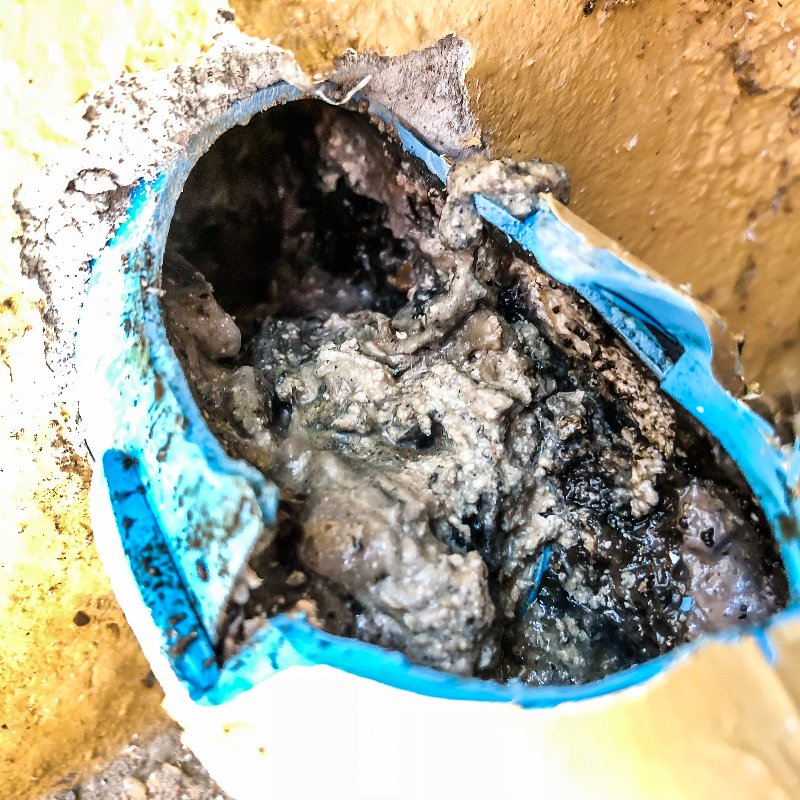
broken sewer line filled with garbage

Inspecting Your Sewer

If you’re having problems with slow draining sinks, tubs, or toilets, you may need to have a sewer camera inspection, also referred to as a sewer scope inspection, done by a plumber. What is a sewer scope inspection? When you can’t determine what the problem is and the normal plunging method isn’t working, a sewer camera inspection is how a technician with sewer inspection companies looks inside your sewer line and see if there is anything clogging the sewer line.

What does a sewer inspection consist of?

A plumbing technician can perform a sewer camera inspection from a few different angles. But each angle will consist of the technician using specially designed sewer inspection equipment that consists of a camera on a flexible long cable and a laptop computer. This will enable them to see the inside of your drains and sewer line.  

The different methods of how they perform this sewer camera inspection will depend on the access available. Those methods include: 

  • The technician will climb on the roof and enter the sewer camera and flexible cable through the vent stack that is located opposite where the sewer ends. From this vantage point, the inspector will have the ability to find any clogs or damage from start to finish.
  • Another method for a sewer camera inspection is done from the sewer cleanout that is located near the house. The sewer line runs from there to the street, and while this doesn’t provide the best view, it typically is enough for the technician to find any clogs or damage. 
  • Another method a professional technician will use for a sewer camera starts with removing the toilet and inserting the sewer camera there. However, this is the least common method used.

The sewer camera inspection will take approximately 30 to 45 minutes. The equipment will record the inspection process and the technician will provide the homeowner with a report with their findings and recommendations. Pictures from the camera will usually follow up within a day or so. 

How much is a sewer line inspection?

Plumbing and sewer camera inspection procedures cost can vary from city to city and company to company. It is recommended to call a few for estimates and for the plumbing contractor you choose, ask for recent references. A well-informed homeowner is the best customer. 

How do I know if there are roots in my sewer line?

Every homeowner love having trees around their property, but the root system can do a lot of damage. Typically, tree roots are up to 3 times longer than the height of the tree. The bigger the tree, the deeper the roots. 

The roots are what seek moisture and nutrients for the tree, so when there is any cracked sewer pipe that is leaking any humidity, the roots seek that pipe out and bust through it. As the tree root enters the pipe, they continue to grow and expand until the sewer pipe is filled and blocked. Here are 4 indicators you have tree roots in your sewer lines and should have a sewer inspection and cleaning done:

  • Drains Empty Slow: When drains are emptying slowly, or the toilet is flushing slowly, gurgling sounds in the drain, are all a hint of tree root damage. 
  • Sinkholes: Sinkholes are normal for the most part, but they can also be an indicator you have tree roots in your sewer. A sewer camera inspection will find those tree roots and the plumber will make suggestions on what needs to be done to correct the problem. 
  • Blocked & Collapsed Pipes: Nothing is more inconvenient than a backed-up toilet, and if you’re lucky it is nothing more than a toy flushed down the toilet. However, it could be from tree roots busting into the sewer pipe.
  • Bad Smells: If you’re noticing bad smells in your home or outside around it, it is likely from tree roots busted into the sewer lines. The smell is like rotten eggs and can’t be mistaken! 

What does a septic inspection consist of?

A septic system performs gets basically the same result that sewer systems do but does it a little differently. A septic system should be inspected by a professional, and in most areas, it is required. They will locate the septic tank and assess the condition. They will inspect the distribution box and absorption area as well, making sure all waste is flowing properly. 

All electrical and mechanical components of the septic system are inspected, cleaned and/or replaced, including the septic lines, filters, baffles, floats, pumps, and alarms.

How long does it take to do a septic inspection?

The process of a septic system inspection can take a little longer than a sewer camera inspection because most of it is done manually. Most sewer lines will take an hour to ninety minutes maximum unless the technician has issues. 

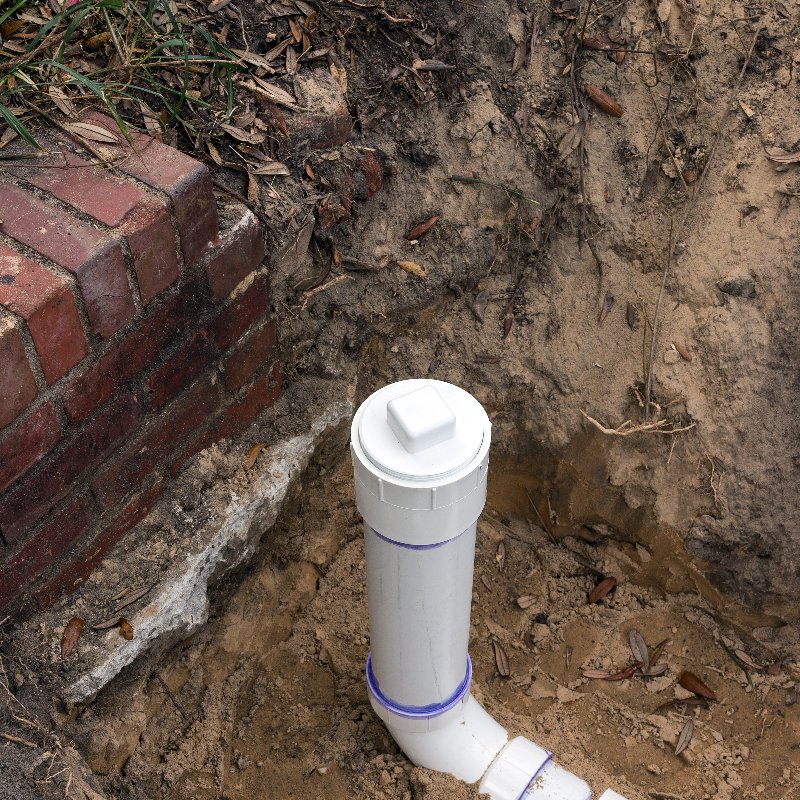
new sewer line sticking out of the ground

In Closing 

If you’re purchasing a property, whether it is on a sewer system or septic system, it is advised to have an inspection. If you’re financing the purchase, the mortgage company will typically require this inspection. After that, an annual inspection is recommended. 

How to Repair a Leaking Toilet

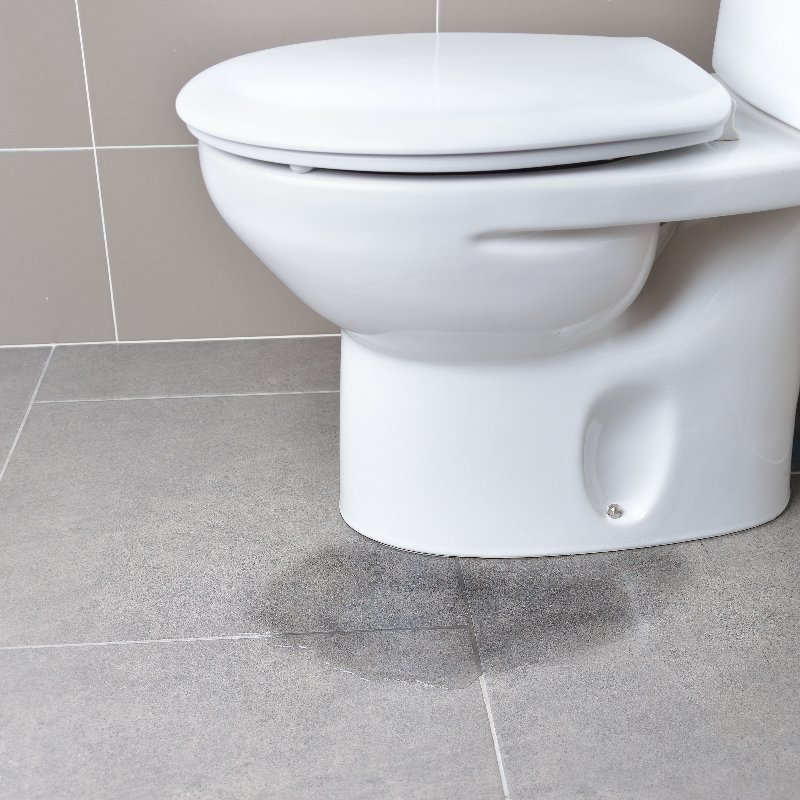
leaking toilet with water around the base

Taking Care of Your Toilet

Water is one of our most precious natural resources, we need water to live. So when you have a dripping faucet or leaky toilet, it isn’t only costing you money each month, it is wasting this valuable resource. As a homeowner, toilet repair is something that needs to be taken care of as quickly as possible, along with issues such as fixing leaking faucets.

How much water can a toilet leak in a month?

Sometimes there is a small trickly inside the toilet bowl. Many people may not consider this a water leak, but it is, and it is costing money with every trickling second. Other times, the leaking toilet repair is inside the tank. This is when you flush the toilet, and it keeps filling up the tank – something that can waste up to 200 gallons per day, or more than 6,000 gallons in a month. And that is just one toilet! 

What causes a toilet to leak?

Most toilet leaks are from the internal parts inside the tank wearing out. The parts inside the tank that make it work are either metal, plastic, or rubber. Considering that they are all under water 24/7/365, it only makes sense they would wear out, making toilet repairs necessary. 

What is the most common cause of a toilet leak?

There are eight common parts that most toilet repairs require. Ignoring any of them is costing you money with your monthly water bill as well as wasting a natural resource. Those 8 parts are: 

The Flapper

A toilet tank is where the water is held until it is flushed. When you activate the flush, there is a rubber flapper inside the tank that raises up allowing water to flow out of the tank into the toilet bowl. Once the water has emptied from the tank to the bowl, the flapper returns to its position, and the tank fills up with water.

Over time, as it sits in water, the flapper will become warped, or break and crack, making it unable to control the water flow. This results in that trickling sound you hear from your bedroom at night. This is a fairly easy toilet repair, and the parts are available at the local home improvement or hardware store. 

Sometimes the flapper is in good condition but becomes stuck in the open position. This allows water to keep running, filling the toilet bowl. This can usually be fixed by looking inside the tank and make sure the flapper and handle are connected. If it has disconnected, simply reconnect the flapper to the flush handle. 

Supply Line

Your toilet is connected to a cold-water supply line and this line will close when water isn’t needed for the toilet. This keeps air from leaking into the toilet plumbing, where it will seep out. Over time, and with a high water pressure setting, the supply line sometimes will crack. This is usually discovered when there is water around the toilet on the floor. 

You can call a plumber to repair, or you can do your own toilet repair. Start by turning the water off to the toilet, most toilets have a valve under the tank. Then carefully remove the cracked water supply line and apply plumber’s tape to the new water line and attach it where you removed the old one. Turn the water back on and you have completed a toilet repair! 

Damaged Tank

If you have water around the toilet on the floor, you need to check the tank. It could be the water supply line, which we just reviewed, or there could be a leak at the water line connection to the tank. This toilet repair can usually be one with plumber putty. Or if your toilet is older than 10 years, you’ll be better off replacing it with a new low-flow toilet. 

Float Gone Bad

If the water doesn’t stop filling the tank when it reaches the predetermined level, this is could be because the float has gone bad. The float is what sits on top of the tank water and monitors the water level. When the water has reached that level, the float disengages the supply. Fortunately, this kind of toilet repair is an easy process by simply replacing the float. In most cases, you can do this without tools.

Rusted Fill Valve

If the float is in good condition, but the tank is overfilling, it may be a corroded or rusted fill valve. The fill valve controls how much water can flow into the tank, working with the float to not let too much into the tank at one time. 

This is another toilet repair that most homeowners can do themselves by replacing the valve. There are several pieces involved, and you’ll want to check each piece to assure they are not corroded or rusted. It is recommended to turn the water off at the tank while doing this toilet repair. If you’re not comfortable with all the parts of a valve, call a plumber for a professional toilet repair.

Other Parts to Check 

A toilet is like other plumbing fixtures and has several connectors that prevent any water leaks. If those connections rot or rust or begin to disintegrate, this toilet repair requires replacing the connectors. If a toilet bowl becomes cracked, it will start leaking water, and at that point, the best toilet repair is to replace the entire toilet. If you’re not able to purchase an entire toilet, here is how to repair a cracked toilet base: 

  1. Drain the water from the toilet tank and then absorb any leftover water with a towel. 
  2. Using a waterproof epoxy or plumber putty, fill the crack and wait 24 hours.
  3. Check for any further cracks, then turn the water on and allow the tank to fill. 

Why does my toilet leak when I flush it? 

It happens, and when it does, you’re first wondering, what would cause a toilet to leak when flushed? There are several things that can be the culprit here. It could be a faulty or loose fill valve or water supply valve. Those are both easy toilet repairs for any homeowner. Or it could be a cracked toilet tank, in which case it would be best to replace the entire unit and upgrade to a low-flow toilet. Note that it can also be leaking because the valve seat is allowing the flush valve to leak. 

What would cause a toilet to leak at the base?

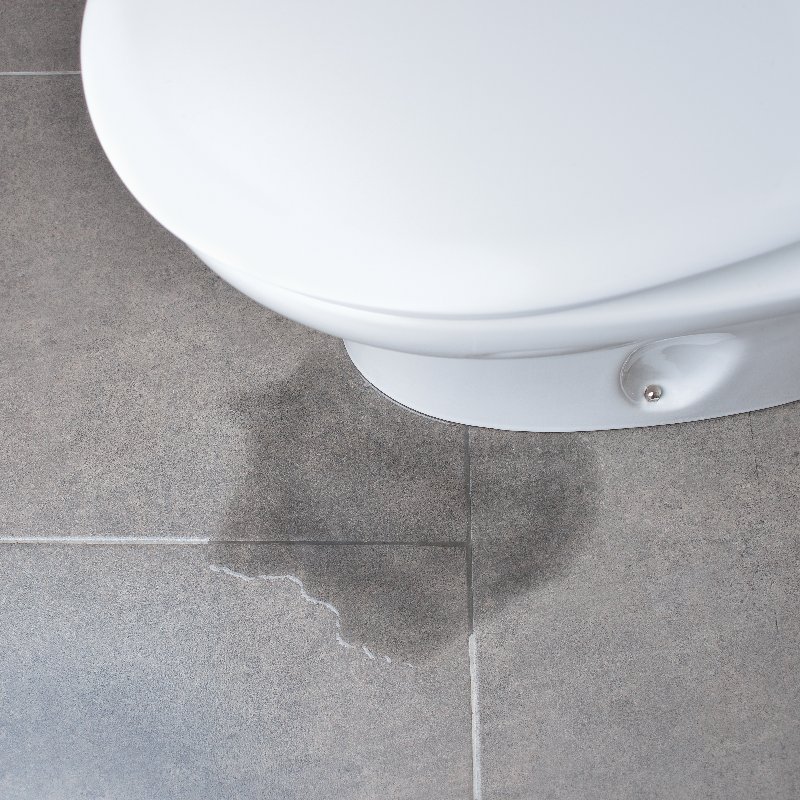
When your toilet appears to be leaking from around the base, you want to check the items we’ve mentioned already. Like the water supply line, fill valve, and other internal parts of the tank. If the water appears to be coming from under the toilet, it is the wax ring seal between the toilet base bottom and the floor. 

This isn’t the easiest toilet repair, and it is a two-person job. The water needs to be emptied from the toilet bowl and tank, the water turned off, and then the toilet needs to be lifted. A new toilet wax ring seal is then installed and, making sure is in the proper position, the toilet sat down perfectly onto the wax ring seal. 

What causes a toilet flapper to leak?

The toilet flapper is rubber and when that rubber has sat inside the tank full of water 24/7/365, it is going to cause it to rot. This is one of the most common toilet repair needs along with the float and the handle. 

view from above of a leaking toilet

In Closing – Can a clogged toilet cause a leak?

Yes, a clogged drain line will keep the water and waste from flushing down, and that will put added pressure on the wax ring seal. This is usually the reason the wax seal needs to be replaced, a frequently clogged toilet. 

What should you never put in a garbage disposal?

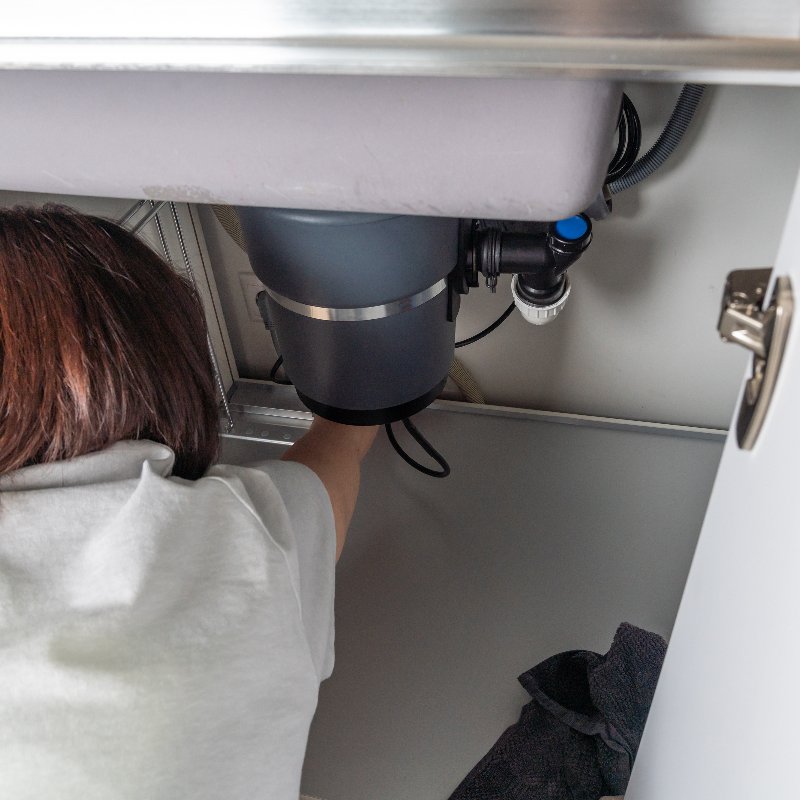
woman working on a garbage disposal unit under a sink

Dealing With a Broken Garbage Disposal

Is something smelling rotten in your kitchen? You’ve taken out the trash, all the dishes have been washed, and the dishwasher has completed its cycle, so what is that odor? Perhaps your garbage disposal lifespan has come to an end? Or maybe garbage disposal repair will save it for a few more years! 

What does it mean if a garbage disposal smells like rotten eggs?

While garbage disposals are something that once was considered an amenity, most homes are equipped with them today. They can make cleaning up after a meal or a day of baking easier and faster.  They can also be the culprit of that awful odor in your kitchen!  But that doesn’t mean it is done for and needs to be replaced.  

Chances are, your garbage disposal has had something put in it that didn’t grind up thoroughly and rinse away as intended. When food scraps don’t get broken up and ground up fully, that food is going to go bad and start to smell. There usually isn’t any major garbage disposal repair needed, just some after-care steps: 

  • Pour a bio-enzyme drain cleaner into the unit, run water and turn it on. 
  • Or go with a more all-natural mixture of baking soda and white vinegar, half a cup each, along with running hot water, and let the unit run for a few minutes. 
  • You can also place a few ice cubes or pieces of citrus fruits in the unit and let it run with hot water. 

What does it mean when your garbage disposal just hums?

It doesn’t automatically mean you need new garbage disposal simply because it is buzzing or humming. These sounds are telling you that the unit is getting power, but the blades can’t turn. This may be a clogged motor or jammed blades that can’t grind. There may be food lodged in it or there could be some non-food item in there, not as unusual as you may think!  

The following steps will walk you through doing your own garbage disposal repair: 

  1. Unplug the garbage disposer to cut the electrical circuit off and keep you from being electrocuted.
  2. At the bottom of the unit under the sink, there should be an Allen wrench in the breaker socket.
  3. Turn the tool back and forth, this will usually free whatever is jammed in the blades.
  4. If your garbage disposer doesn’t have an Allen wrench and hex hole on the bottom, force a broomstick into the garbage disposer, against one of the blades to move back and forth. 
  5. Plug the unit back in and try to use it. If this typical garbage disposal repair didn’t work, call your local plumber. 

When you’re doing a lot of cooking, holidays are the usual time this happens, garbage disposals tend to get clogged. Knowing what to do when a garbage disposal is clogged will save you from being frustrated, calling a plumber, and save you money.  

First, you should NEVER use a liquid drain cleaner in the garbage disposal!  Drain liquid cleaners are dangerous and will erode the plastic and rubber components, including the splash guard which is your protection.

Before you attempt the following cleaning process, turn the unit off, and DO NOT stick your hand in the unit! Do not attempt these steps for an unclogging garbage disposal repair if the unit is warm.

1. Manual Inspection

With the power off, using a flashlight, look inside the disposal. You maybe see whatever it is that has clogged the unit. If you see anything, use a pair of pliers or tongs, and reach inside to pull out whatever it may be, which could be a dishcloth, plastic wrap, paper towel, etc. 

2. Baking Soda and White Vinegar

An all-natural DIY remedy is a half-cup of baking soda and half-cup of white vinegar poured into the garbage disposal side of the sink. You’ll get a fizzy foam that is cutting through any food clogging the unit while it cleans it too. This will unclog things like fat, grease, and oil and makes a great deodorizer too. 

  • Pour the baking soda in first. 
  • Then pour the white vinegar in. 
  • Let the fizz work for twenty minutes.  
  • Then run hot water for 10-20 minutes to wash away the residue of the mixture and food waste. 

3. Plunge It

Sometimes, you need an old-fashioned kitchen plunger for this garbage disposal repair!  loosen and move. 

  • Covering the other drain with a stopper. 
  • Cover the garbage disposal drain with the plunger.
  • Fill that side of the sink up with water, making sure you have a watertight seal with the plunger. 
  • Now, vigorously plunge up and down, repeating for several minutes. 
  • Use a flashlight and see if there is anything that needs to be removed with pliers or tongs. 
  • Now run cold water and try the unit again. 

If none of these have worked, try the Allen hex wrench or broom handle process described above. And if that doesn’t work, you’ll need to call a professional plumber that knows how a garbage disposal works and offers garbage disposal repair services.

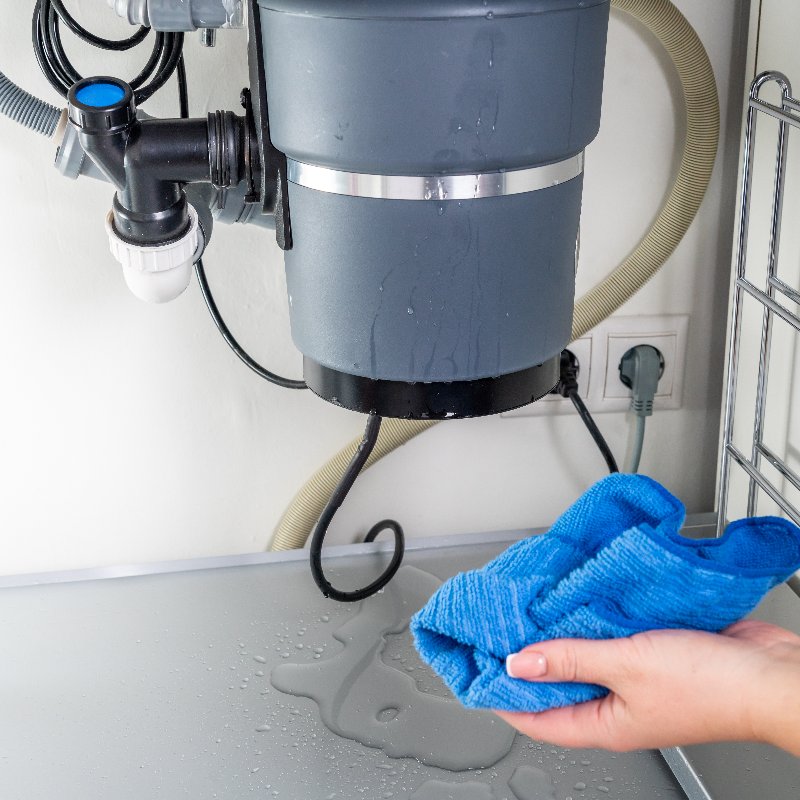
What if there is water under the sink beneath the garbage disposal? That could be where the nasty odor is coming from. Knowing what to do when a garbage disposal is leaking could save you from having to call a plumber and will minimize the amount of damage all that water under the sink can cause. 

Leaking From the Top: It is probably at the very top rim where the rubber seal and flange mount. 

  • Unplug the disposal and disconnect it from the drain. If you have a dishwasher, you’ll need to disconnect the drain hose. 
  • Remove the garbage disposal by loosening the mounting nut. 
  • Install the new gasket, following the instructions that come with the gasket. Make sure it pops into the lip of the unit and is flat. 
  • Reinstall the unit and test it. 

Leaking at the Flange: This is a common area for leaks, located in the upper area of the unit. 

  • Unplug the disposal and disconnect it from the drain. If you have a dishwasher, you’ll need to disconnect the drain hose. 
  • Remove the garbage disposal by loosening the mounting nut. 
  • Remove the flange by loosening the bolts that hold it in place. 
  • Using a screwdriver, pop the clip out and pull the top flange out.
  • Using plumbers’ putty, reseal the flange by forming a snake-like gasket wrapped onto the flange rim.
  • Replace the flange, reinstall the unit, and test. 

Where does the garbage disposal go?

If you don’t have a garbage disposal, you may be thinking about installing one. You can do it yourself, they come with instructions and there are plenty of online videos that can guide you through the process too. Garbage disposals are mounted to the underside of a two-sided sink, you can choose either one, but if you have a dishwasher, or will be installing one, it should be mounted to the side closest to the dishwasher. 

Will a garbage disposal clog pipes or will a garbage disposal harm a septic system?

With proper installation and use of garbage disposal, it should never clog your pipes. However, it is recommended to never have garbage disposal when on a septic system.  It will take up space in the tank, making your septic system less effective for what it is meant to be used. And there are methods that are greener in disposing of food waste, like starting a compost pile. 

close-up of a leaking garbage disposal unit

In Conclusion

A garbage disposal can be an addition to the kitchen. With proper use and maintenance, you should never need any garbage disposal repairs and get up to 10-12 years of use from a quality brand.